Building a Fullstack App with Loco.rs and Nuxt

📃 Table of Contents
🧠 Introduction
The Loco.RS framework is a powerful tool for building web applications in Rust. When combined with Nuxt, a popular Vue.js framework, developers can create robust fullstack applications with ease.
In this post, we'll explore how to set up a fullstack application using Loco.RS for the backend and Nuxt for the frontend.
⚠️ Prerequisites
At first, you need to have both Rust and Node.js installed on your machine, along with a basic understanding of both technologies.
I will not cover the installation steps for Rust and Node.js here, but you can find the official installation guides on their respective websites.
📗 Frontend
First, navigate to your repos directory and install the Loco.RS CLI tool if you haven't already:
cargo install loco sea-orm-cli
Next, create a new Loco.RS project:
loco new loco-nuxt-app
cd loco-nuxt-app
Make sure that you use the SaaS or WebApp template with React when prompted.
Then delete the whole frontend directory since we will be using Nuxt instead of the default React frontend:
rm -rf frontend
And create new frontend directory:
npm create nuxt@latest frontend
cd frontend
npm i && npm i --save-dev nuxi
While creating, make sure that you install the nuxt/ui module for styling.
After this, generate the output:
npx nuxi generate
But you can also use my little starter template with shadcn-vue pre-installed:
npx nuxi init frontend -t https://codeload.github.com/mikelogaciuk/nuxt-shadcn/tar.gz/main
PS. The nuxi can be installed globally as well using npm i -g nuxi.
🦀 Backend
Next we navigate back to the root of the Loco.RS project:
cd ..
Then, if you choose to use SQLite as your database, you need to patch the config\development.yaml file to use the correct database URI as the default template generates bad config at the moment of writing the post.
Just replace the database section with the following configuration:
# Database Configuration
database:
  # Database connection URI
  uri: "sqlite://railroad_development.sqlite?mode=rwc"
  # When enabled, the sql query will be logged.
  enable_logging: false
  # Set the timeout duration when acquiring a connection.
  connect_timeout: 500
  # Set the idle duration before closing a connection.
  idle_timeout: 500
  # Minimum number of connections for a pool.
  min_connections: 1
  # Maximum number of connections for a pool.
  max_connections: 1
  # Run migration up when application loaded
  auto_migrate: true
  # Truncate database when application loaded.
  # This is a dangerous operation, make sure that you using this flag only on dev environments or test mode
  dangerously_truncate: false
  # Recreating schema when application loaded.
  # This is a dangerous operation, make sure that you using this flag only on dev environments or test mode
  dangerously_recreate: false
Then, in the server section, edit the static files path to point to the Nuxt generated files:
  middlewares:
    fallback:
      enable: false
    static:
      enable: true
      must_exist: true
      precompressed: false
      folder:
        uri: "/"
        path: "frontend/.output/public"
      fallback: "frontend/.output/public/index.html"
🚀 Running up
In order to start the web application, you need to start the Loco.RS:
cargo loco start
At first launch, the Cargo will download all the dependencies and compile the project, so it may take a while.
Every next time will be gradually faster.
🤖 Final effect
Once the server is up and running, you should see something like this in your terminal:
cargo loco start
    Finished `dev` profile [unoptimized + debuginfo] target(s) in 1.98s
     Running `target\debug\railroad-cli.exe start`
(...)

                      ▄     ▀
                                 ▀  ▄
                  ▄       ▀     ▄  ▄ ▄▀
                                    ▄ ▀▄▄
                        ▄     ▀    ▀  ▀▄▀█▄
                                          ▀█▄
▄▄▄▄▄▄▄  ▄▄▄▄▄▄▄▄▄   ▄▄▄▄▄▄▄▄▄▄▄ ▄▄▄▄▄▄▄▄▄ ▀▀█
 ██████  █████   ███ █████   ███ █████   ███ ▀█
 ██████  █████   ███ █████   ▀▀▀ █████   ███ ▄█▄
 ██████  █████   ███ █████       █████   ███ ████▄
 ██████  █████   ███ █████   ▄▄▄ █████   ███ █████
 ██████  █████   ███  ████   ███ █████   ███ ████▀
   ▀▀▀██▄ ▀▀▀▀▀▀▀▀▀▀  ▀▀▀▀▀▀▀▀▀▀  ▀▀▀▀▀▀▀▀▀▀ ██▀
       ▀▀▀▀▀▀▀▀▀▀▀▀▀▀▀▀▀▀▀▀▀▀▀▀▀▀▀▀▀▀▀▀▀▀▀▀▀▀▀
                https://loco.rs

environment: development
   database: automigrate
     logger: debug
compilation: debug
      modes: server

listening on http://localhost:5150
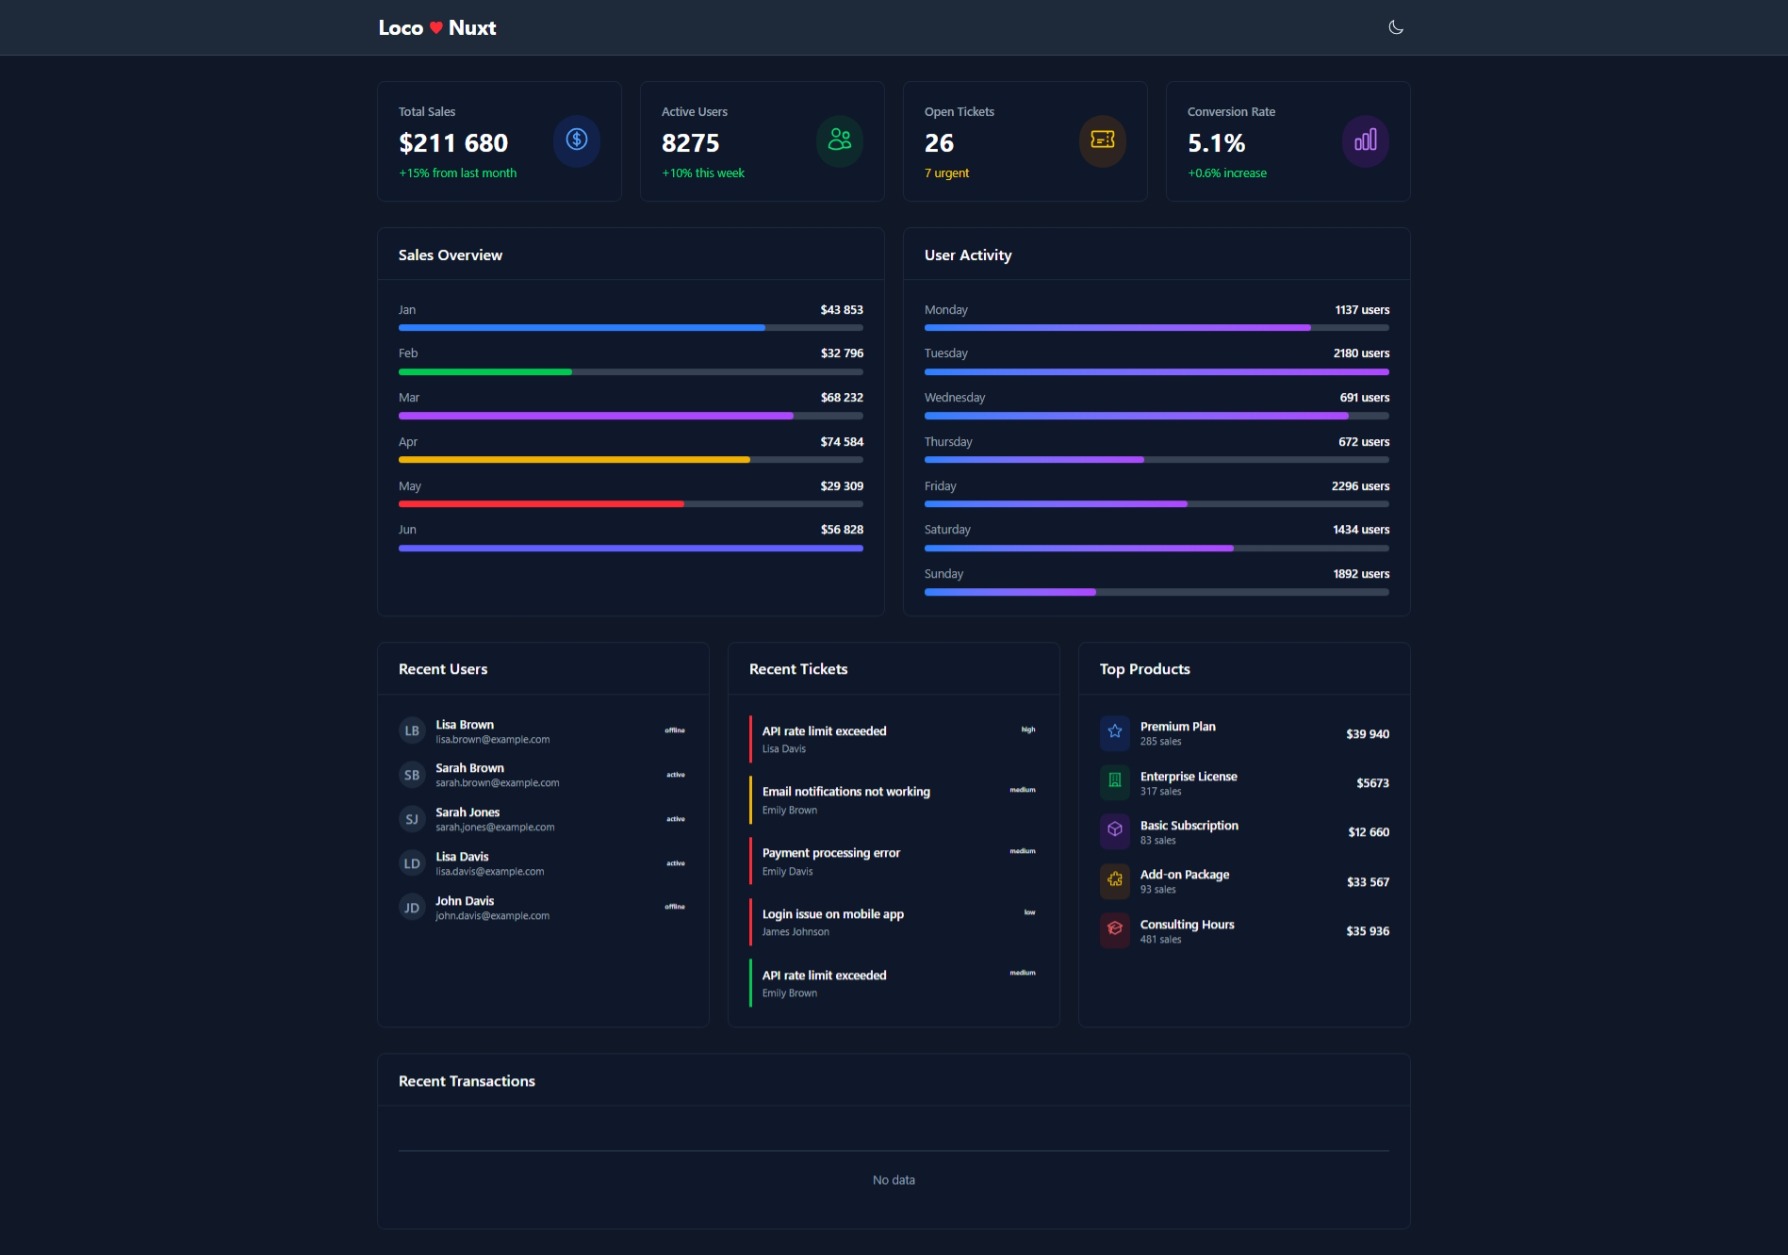
And in my case, after few moments of writing dummy dashboard frontend, I got the following result, while running from http://localhost:5150: